The ReStory Atari Lynx has 23 placeable parts and 12 screws in the current guide record. The safest repair is a counted teardown: keep front controls, display, board, rear supports, covers, and fasteners in separate groups, then rebuild from the core outward.
Device Quick Data
- Parts
- 23
Recorded
Recorded in the linked source.Build not recordedExisting sourced guide record - Screws
- 12
Recorded
Recorded in the linked source.Build not recordedExisting sourced guide record - License
- —
Unknown
No reliable value is available yet.No publishable evidenceAwaiting a reproducible observation. - Observed sale value
- —
Unknown
No reliable value is available yet.No publishable evidenceAwaiting a reproducible observation. - Competition
- —
Unknown
No reliable value is available yet.No publishable evidenceAwaiting a reproducible observation. - Difficulty
- —
Unknown
No reliable value is available yet.No publishable evidenceAwaiting a reproducible observation. - Current build
- 1.0.015
Confirmed
Supported by official information, a developer reply or first-party testing.Build 1.0.015Verified: Steam build and official announcementsSite build reference; not a test of every field. - Common issue
- —
Unknown
No reliable value is available yet.No publishable evidenceAwaiting a reproducible observation.
Disassembly Layers
Layer order not yet verified; record the in-game Notebook before disassembly.
Competition status in 1.0.011r
Patch 1.0.011r officially lists the Atari Lynx competition issue as fixed. The device's 12-screw and 23-part repair dossier is unchanged. For competition trouble, update first and use the current result screen; older workarounds belong to builds before 1.0.011r.
Atari Lynx release-build dossier
The licensed device identity is official; the counts are current third-party guide observations and may move with a patch. The job tracker remains authoritative for the device instance in front of you.
| Field | Current record | Practical meaning |
|---|---|---|
| Screws | 12 | Keep exterior and internal groups separate |
| Placeable parts | 23 | Audit every layer before the rear shell closes |
| Device | Officially licensed Atari Lynx | Follow the game's simplified interactions |
| Evidence status | Current guide record | Recheck after updates |
23-part placement ledger
These are player-facing placement descriptions for auditing the exploded device, not official inventory localization. Count one placement only after the game accepts it; if your current build labels a component differently, follow the in-game ghost and task counter.
| # | Placement group | What to verify before moving on |
|---|---|---|
| 1 | Front shell | All control and display recesses are empty and visible |
| 2 | Display window | Window sits flush in the front opening |
| 3 | Display frame | Frame does not cover a missing cleaning target |
| 4 | Display module | Screen is seated in the frame |
| 5 | D-pad | Direction piece faces the front correctly |
| 6 | D-pad membrane | Membrane sits under the D-pad |
| 7 | A button | Button is in the correct face opening |
| 8 | B button | Button is not swapped with A |
| 9 | Button membrane | Membrane is flat under both action buttons |
| 10 | Power control | Control reaches its shell opening |
| 11 | Brightness control | Control remains reachable after closure |
| 12 | Volume control | Control remains aligned with the side opening |
| 13 | Speaker | Speaker is clean and seated |
| 14 | Speaker support | Support does not pinch the speaker path |
| 15 | Main board | Board lies flat on every support |
| 16 | Display contact | Display-to-board contact is clear |
| 17 | Control contact layer | Controls meet the board without trapped pieces |
| 18 | Cartridge-side support | Slot area remains unobstructed |
| 19 | Battery contacts | Contacts face the battery compartment |
| 20 | Battery-side support | Rear support is fully accepted |
| 21 | Cartridge cover | Cover moves and seats correctly |
| 22 | Battery cover | Cover closes after the contact layer |
| 23 | Rear shell | All 23 placements are counted before fastening |
Teardown without losing orientation
Save first, inspect both faces, and make separate trays for shell fasteners, front controls and display pieces, the board layer, and the rear or battery-side layer. Remove only visible legal fasteners. Clean each exposed face immediately, because a missed target can become visually buried when the next of 23 pieces returns.
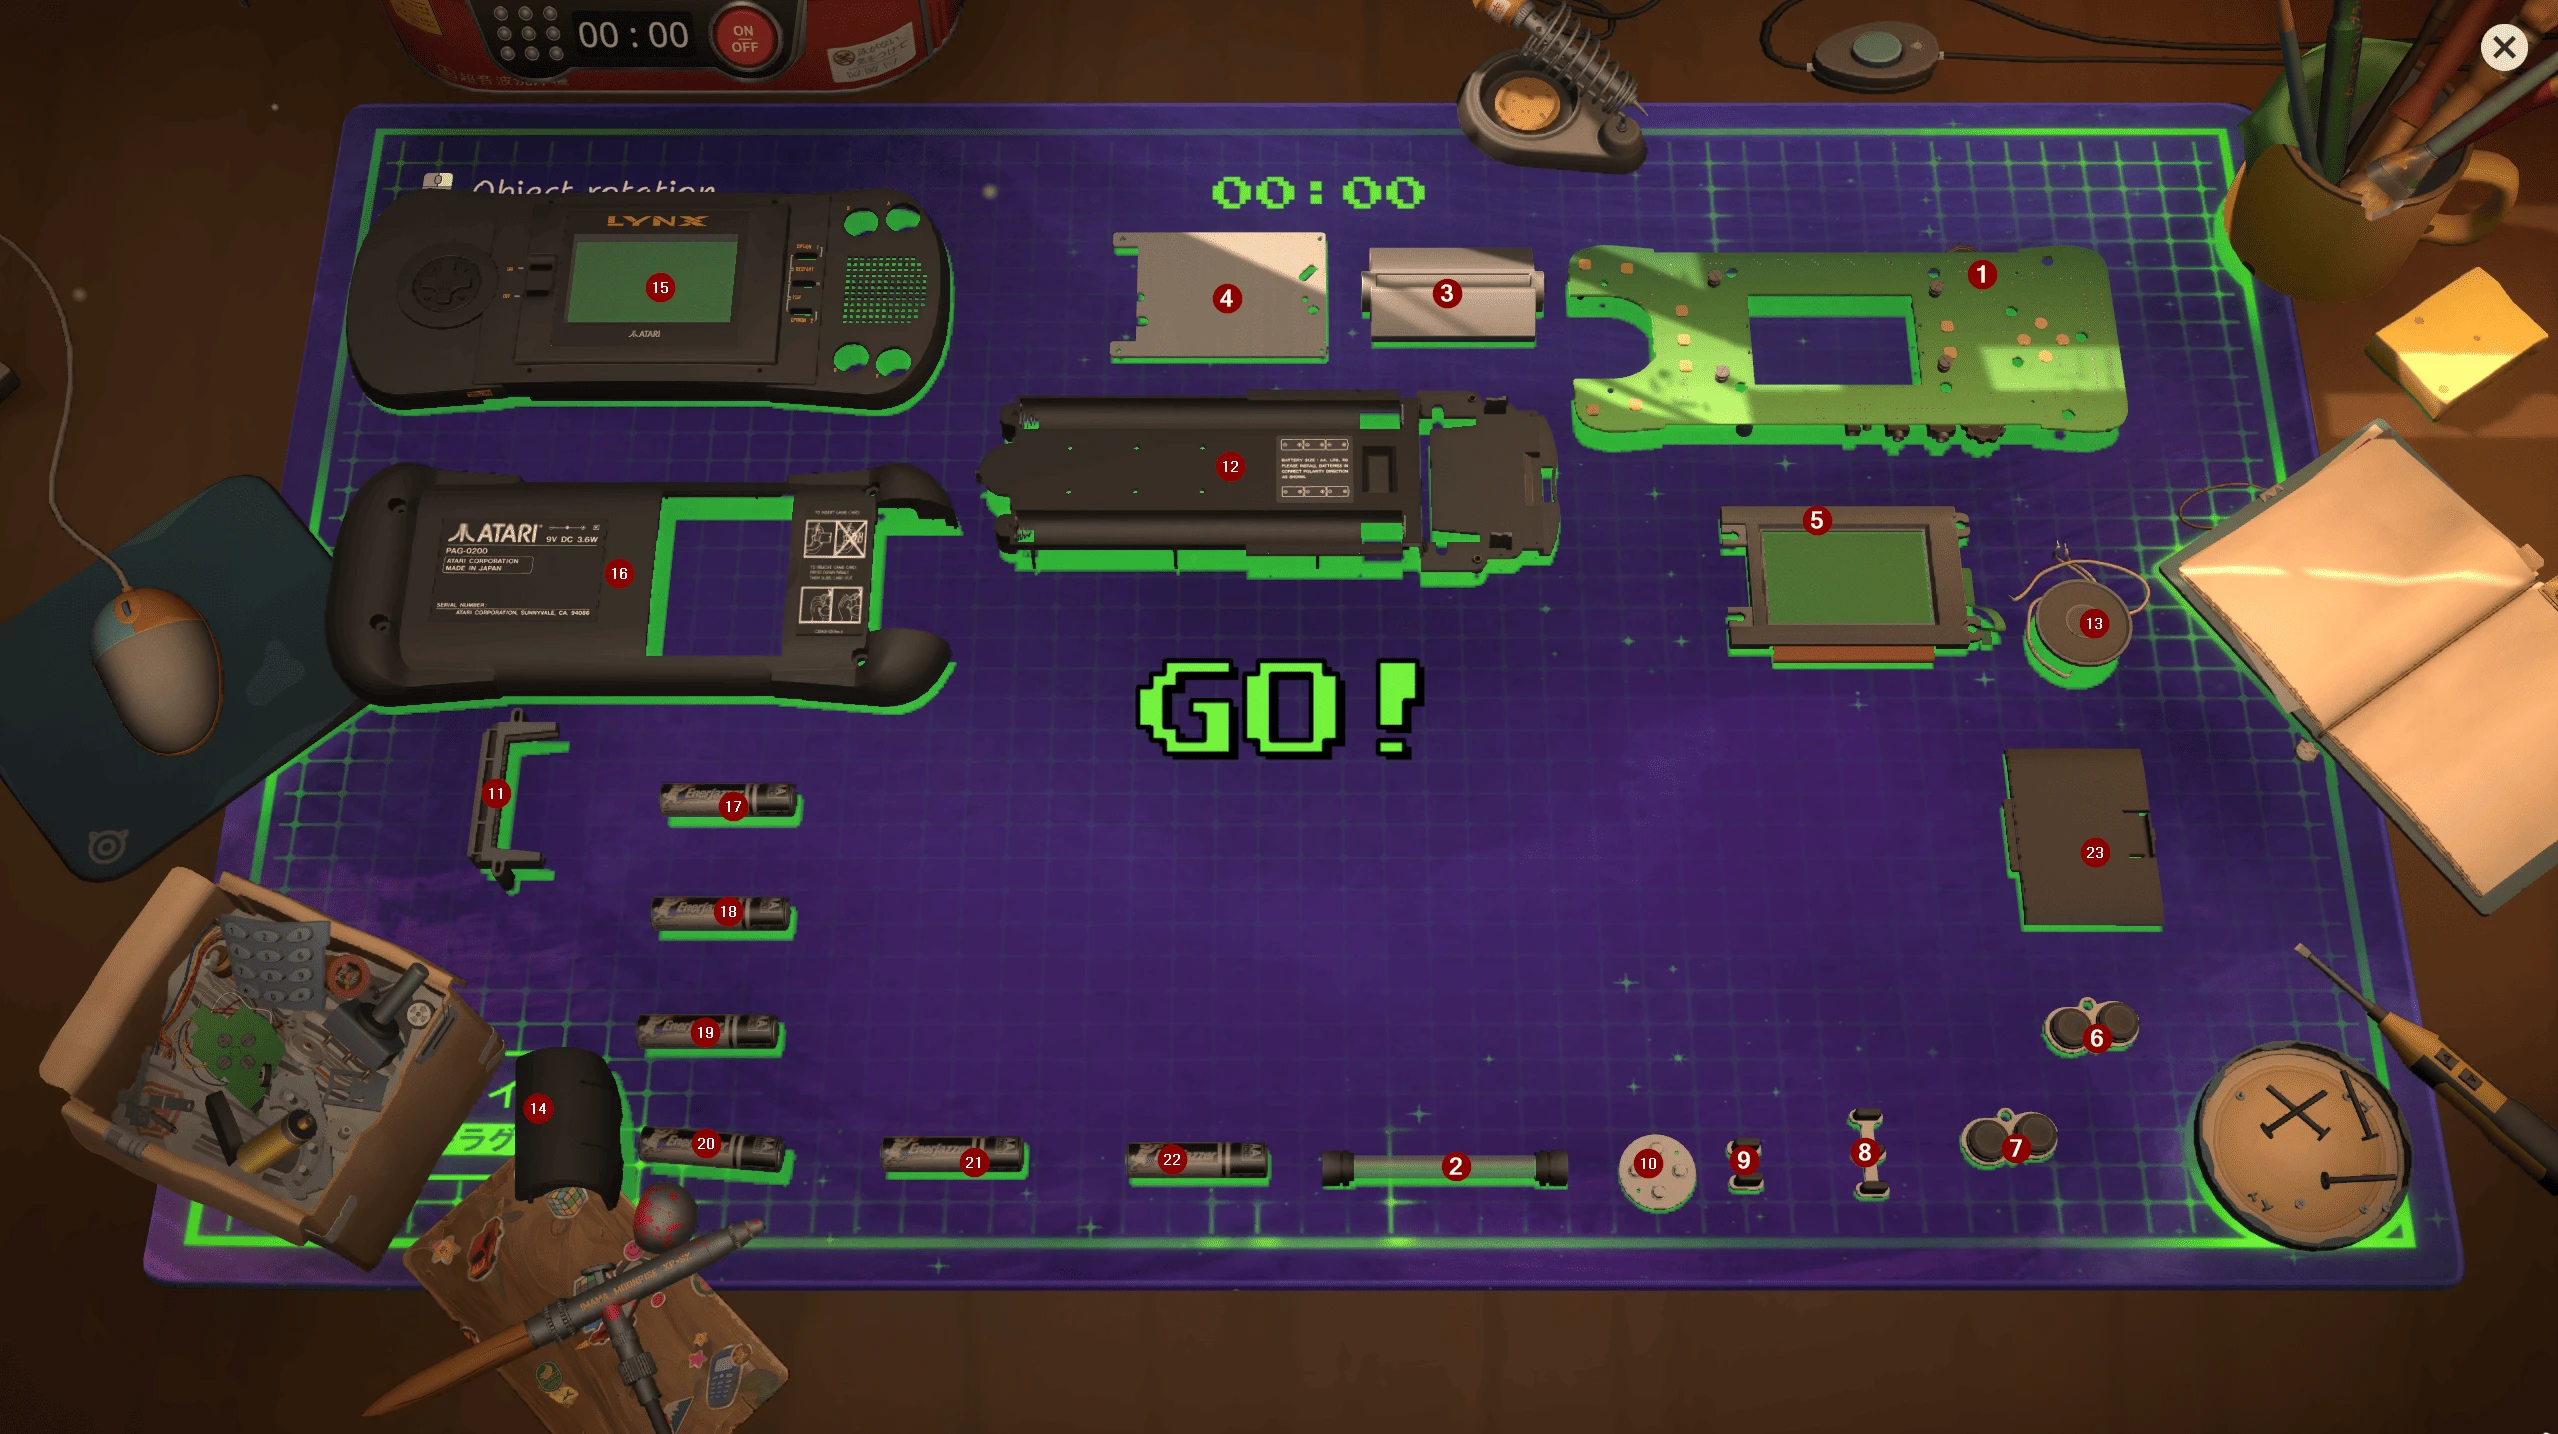
Lynx display layers, controls and batteries arranged separately. Competition layout; red numbers are the source author’s annotations.
Complete assembly order
The safest rebuild moves from the board-supporting layers outward. Do not install the final shell because it looks finished; install it only after the 23-part audit is complete.
| Stage | Assembly layer | Checkpoint |
|---|---|---|
| 1 · Front support | Front shell supports, display and control pieces | Display and controls sit in their recesses |
| 2 · Core | Main board and all available connectors | Ports, contacts and cable paths remain clear |
| 3 · Rear layer | Rear supports, battery-side pieces and remaining covers | All 23 placeable parts are represented |
| 4 · Fasteners | Internal groups first, exterior group last | Twelve screws returned; shell closes without force |
| 5 · Final audit | Rotate every face and reread objectives | No cleaning, replacement or placement marker remains |
Replace the fault, not the whole checklist
A 23-part assembly is not a 23-part shopping list. Identify the marked fault, then compare a direct part with a same-model donor. Check the donor's listing and visible condition for the exact area you need. A cheap broken Lynx is poor value when it shares the customer's display, shell, or control failure; it is useful when several confirmed-good pieces survive.
Game model versus real Atari hardware
ReStory preserves recognizable Atari design while simplifying selected connections for play. Use the in-game highlight, interaction state, and task counter. Real repair manuals can explain a component's role, but they cannot override the game's detachable parts or assembly rules—and this guide is not electrical-safety advice for a physical Lynx.
Atari Lynx completion checklist
A deliberate count is faster than reopening a finished-looking shell.
- Separate the 12 screws by layer
- Track all 23 placeable parts
- Clean exposed surfaces before covering them
- Build front supports → core → rear layer → fasteners
- Confirm ports and controls align before closing
- Recheck the current job counter after any patch
Research links
These are the primary pages used to check the facts and current release context in this guide.
Official information, observable release behavior, and community reports are deliberately separated. A community report is not presented as a universal fix until it can be reproduced or supported by current patch notes.